
Docker is a powerful tool for creating and maintaining containers, which are isolated environments that may run multiple applications without interfering with one another. PostgreSQL is a powerful and open-source relational database system that can handle complex queries and large volumes of data.
This post will explain a step-by-step procedure for installing as well as setting up a Docker PostgreSQL environment on the local machine.
How to Install and Set Up Docker PostgreSQL Environment
For complete installation and setup docker PostgreSQL environment, users need to follow the given instructions:
Step 1: Download Docker
First, we need to download the docker application which is freely available on the official page of docker. Select the docker compatible with your operating system, in our case, it is Windows:
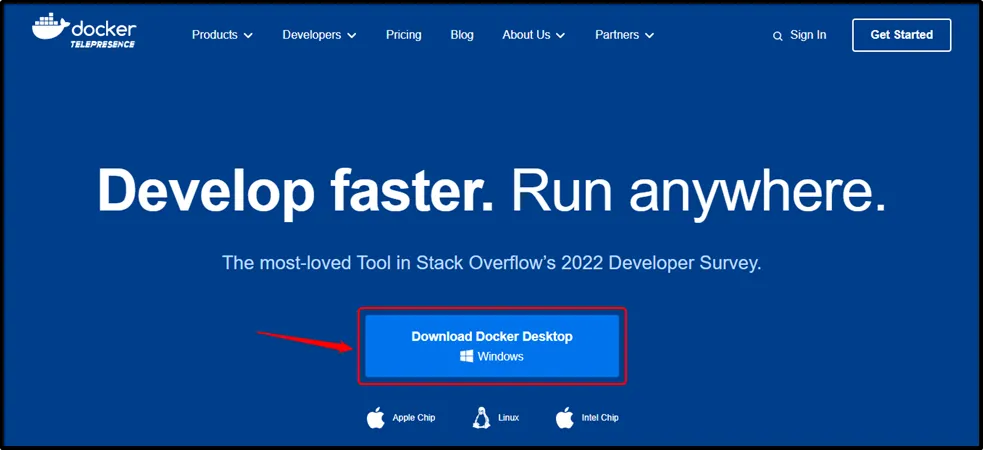
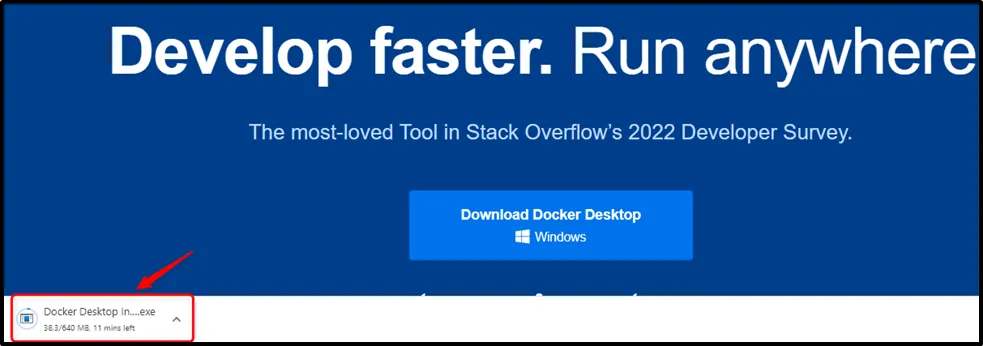
Clicking on the “Download Docker Desktop” button will initiate the downloading process:
Step 2: Install Docker
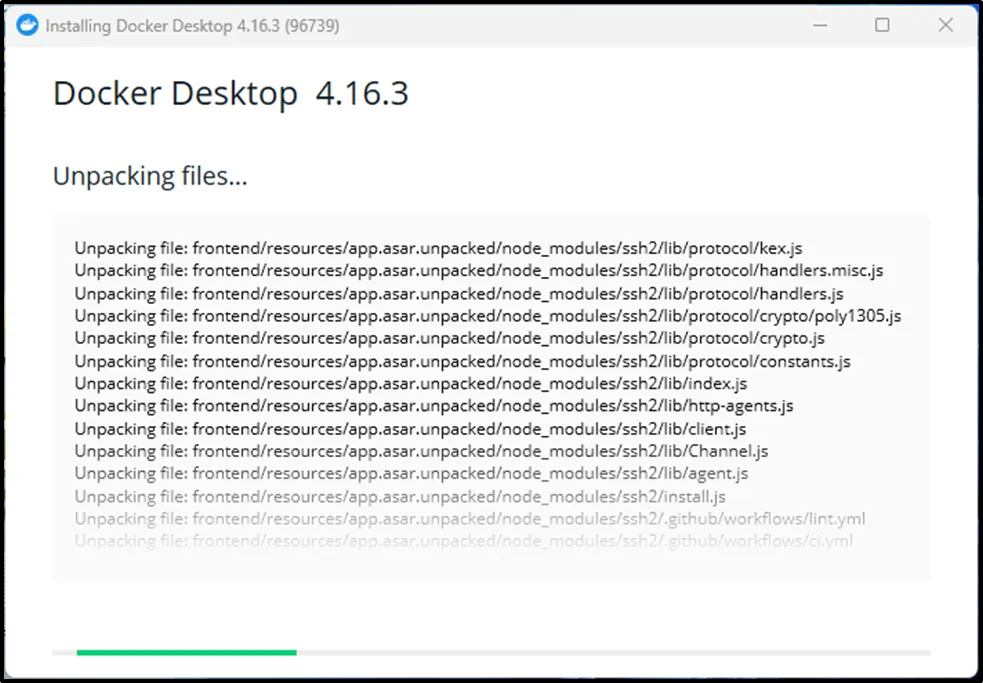
Once the downloading process is finished, install the docker on your system by following the on-screen instructions:
On successful installation, you will meet the following window:
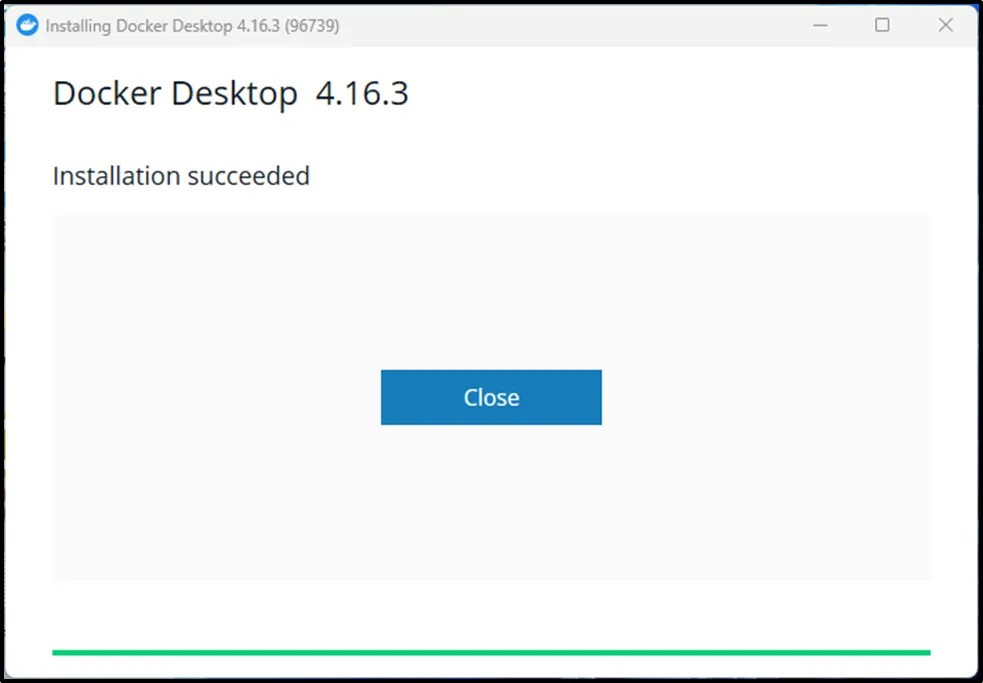
Click on the “Close” button to proceed further.
Step 3: Run Docker
Once docker is installed on your system, you can run it from the Windows search bar:
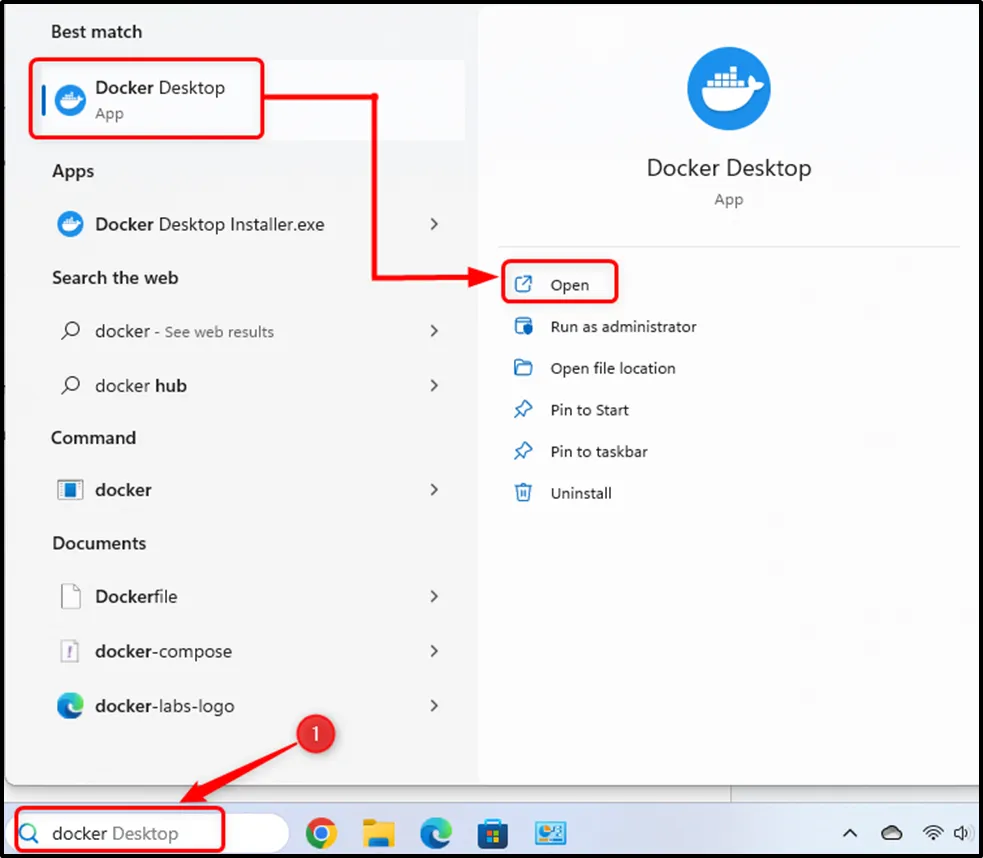
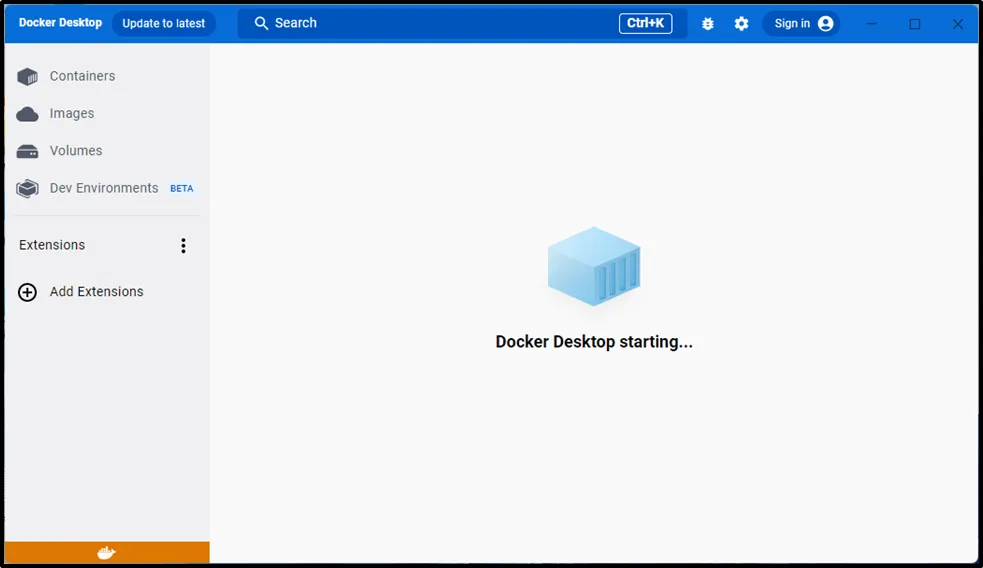
Running docker will start the docker service or alternatively, you can run it from the command line:
Step 4: Set up a Docker Account
A wide range of images is available on the docker hub. However, to access any image, first, we need to set up an account on the docker hub:
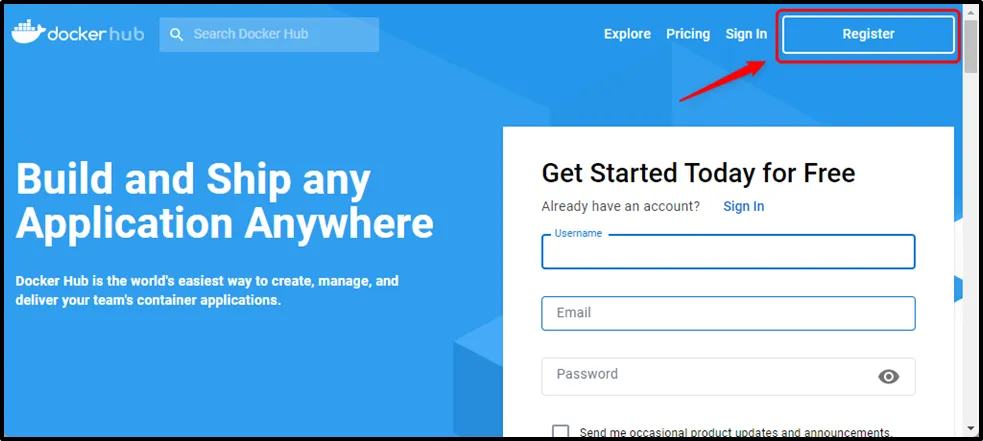
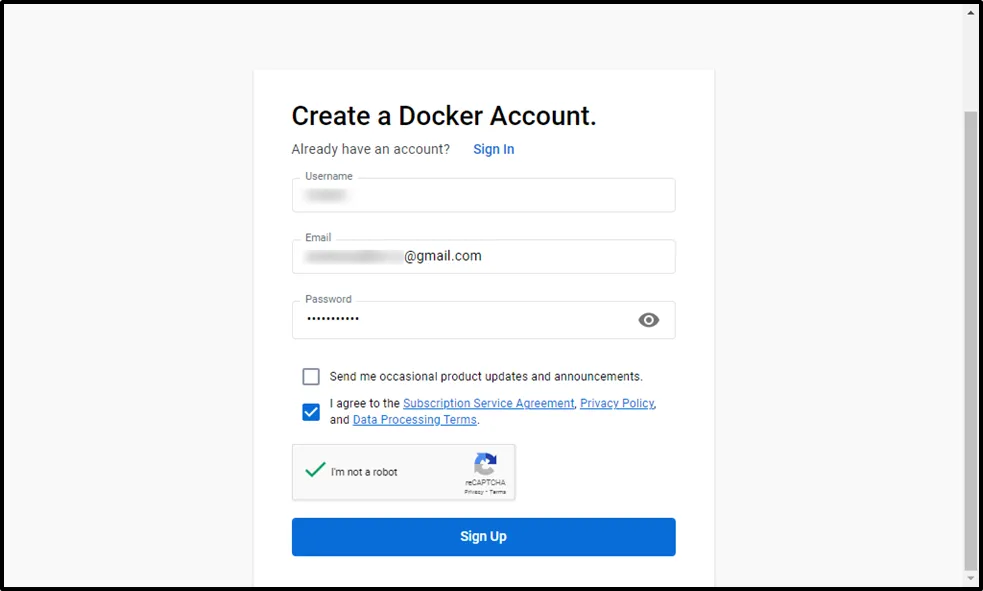
Clicking on the “Register” button will navigate you to the signup page. Provide the registration details, and click on the “Sign up” button to proceed further:
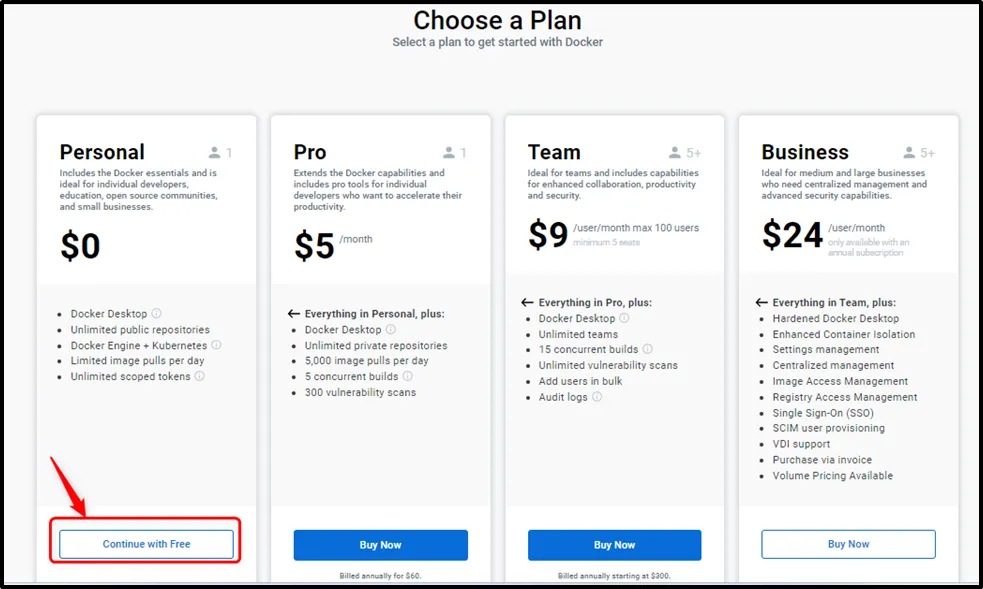
Choose a plan from the available options to get started with docker:
Next, it will ask you to verify your email address, which will ultimately log you into the docker hub:
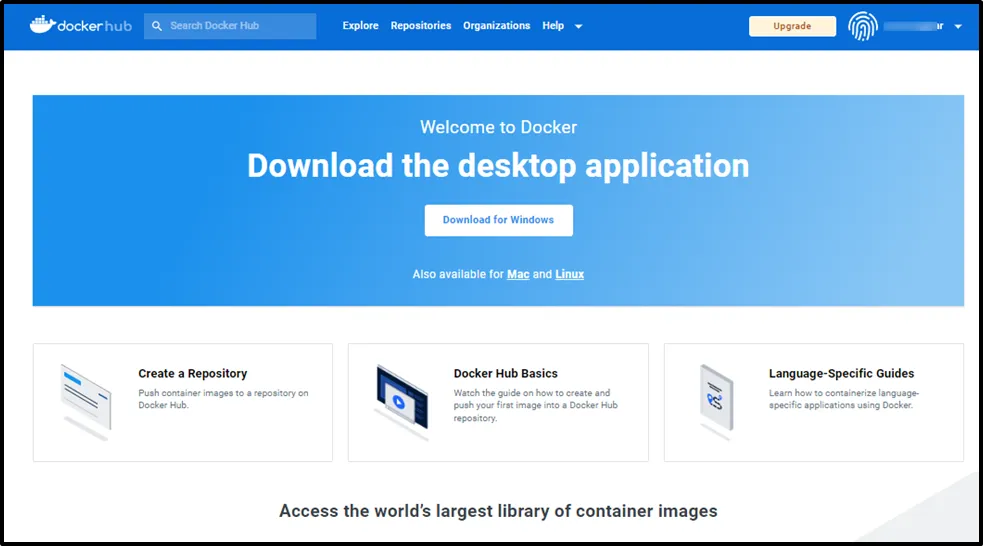
Once the account is created, you can find and use any image of your choice.
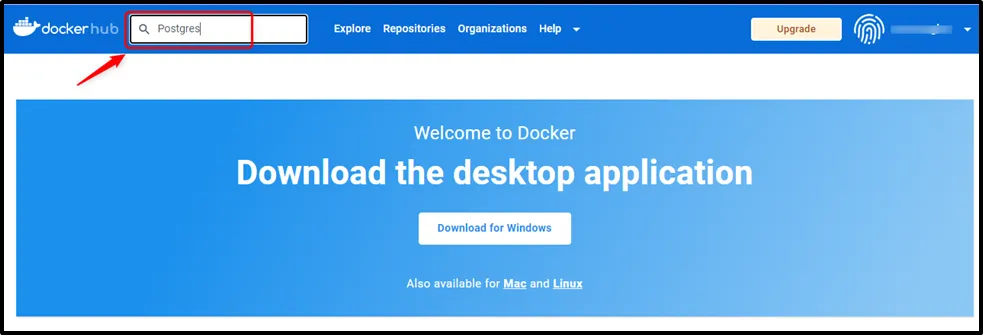
Step 5: Download PostgreSQL Image
The files that dockers use to run the applications are known as “images”. These images are nothing but a pre-built collection of files. Let us find a PostgreSQL image and download it from the docker hub. For this purpose, type “Postgres” in the search bar and press enter:
Clicking on Enter button will navigate you to the following window:
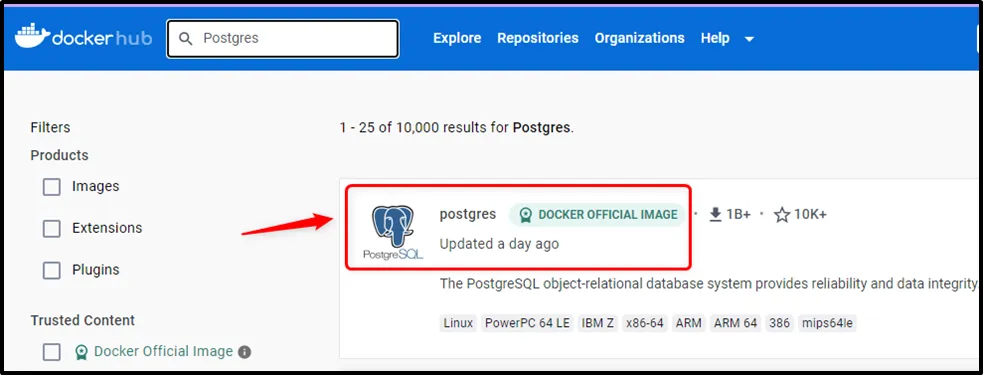
Selecting the “Postgres docker official image” will lead you to a new page that shows all the details regarding the Postgres docker image:

Step 6: Pull the PostgreSQL Image
The next step is to pull the PostgreSQL image from the Docker Hub, which is a repository of pre-built images for various applications. Users can use the following command to pull the latest version of PostgreSQL in the command prompt:
docker pull postgres
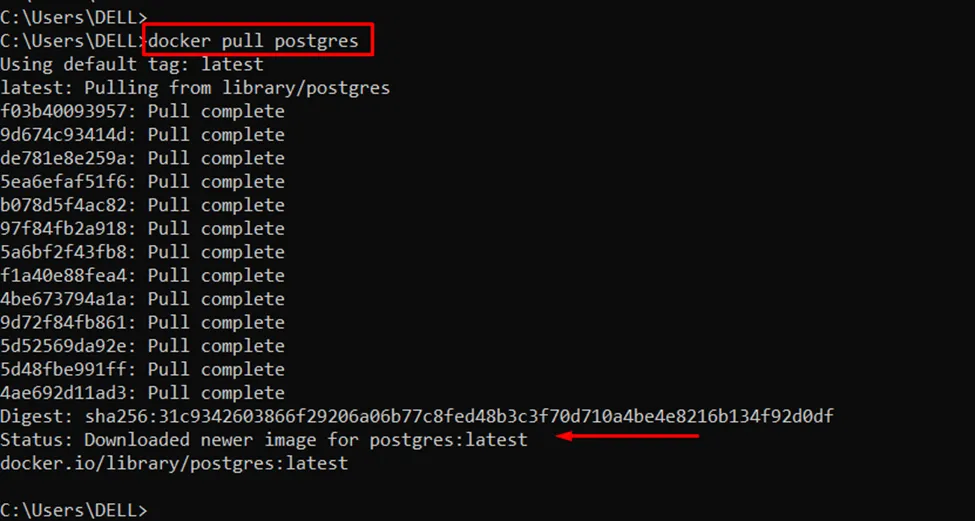
It downloads the image to your local machine and stores it in your Docker cache.
Step 7: Create a Container from the PostgreSQL Image
For creating a container through the PostgreSQL image and executing it in the background. A container is an instance of an image that can be configured with several arguments, such as environment variables, volumes, ports, etc. You can use the following command to create and run a PostgreSQL container:
docker run --name postgres -e POSTGRES_PASSWORD=postgres -p 5432:5432 -d postgres

Let us break down this command and see what each option does:
- “--name postgres”: assigns a name to the container, which makes it easier to identify and manage later.
- “-e POSTGRES_PASSWORD=postgres” sets an environment variable that defines the password. You can change this to any value you want, but make sure to remember it as you will need it later to connect to the database.
- “-p 5432:5432” maps the port 5432 between the host machine and the container. This allows us to access the database from outside the container using the host's IP address and port number.
- “-d postgres” executes the container in detached mode. The last argument “postgres” specifies the name of the image that we want to use for the container.
Users can confirm that the container is running by using the below command:
docker ps

Step 8: Connect to the PostgreSQL Database
Finally, connect to the PostgreSQL database and start using it. There are many ways to connect to a PostgreSQL database, such as using a graphical user interface (GUI) tool like pgAdmin or using a command-line tool.
To connect to the database using SQL Shell, users need to execute the below-provided command:
docker exec -it postgres psql -U postgres

Now, users are connected to the database and ready to execute SQL commands.
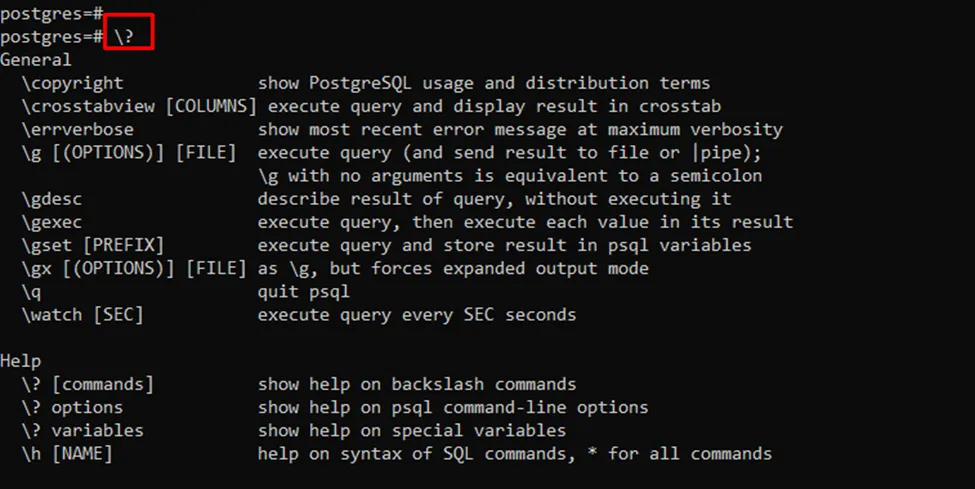
Users can use ‘\l’ to list all the databases, ‘\c’ to connect to a specific database, ‘\dt’ to list all the tables in a database, ‘\d’ to describe a table’s structure, etc. For instance, use ‘\?’ to see all the available commands and options:
To exit Postgres, users can use the ‘\q’ command.
Conclusion
To install and set up the Docker PostgreSQL environment, users need to install Docker on the system from the link. After that, pull the PostgreSQL image from Docker Hub using the “docker pull postgres”. Furthermore, create a container from the PostgreSQL image and connect to the PostgreSQL container using the “docker exec -it postgres psql -U postgres” command. Finally, users can now create databases, tables, and queries using PostgreSQL commands.